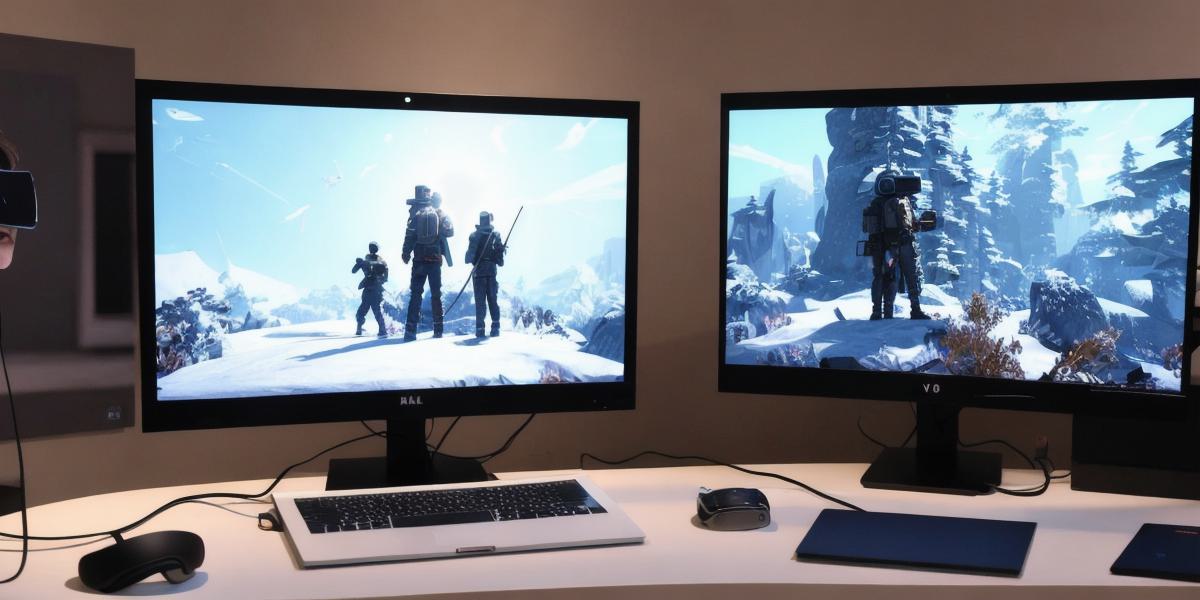
Are you a VR developer looking to create immersive and engaging VR scenes? If so, you’ve come to the right place! In this article, we will take an in-depth look at how VR scenes are made, covering everything from pre-production to post-production. We’ll also touch on some of the latest trends and techniques being used in the industry.
Let’s get started!
Pre-Production: Planning and Designing
Before you start creating VR scenes, it’s important to have a solid plan in place. This includes defining your target audience, setting clear objectives, and determining the type of scene you want to create.
Once you have a clear idea of what you want to achieve, it’s time to start designing your scene. This involves creating 3D models, selecting textures and lighting, and defining the layout of the scene. It’s also important to consider the user experience and how the scene will be interacted with.
One example of a successful VR scene is the popular game, Beat Saber. In this game, players use virtual light sabers to slash through incoming blocks that represent musical beats. The designers of Beat Saber spent a lot of time planning and designing the scenes, taking into account factors like pacing, difficulty, and visual appeal.
Production: Building and Testing
Once you have your design in place, it’s time to start building your VR scene. This involves programming the 3D models, adding interactive elements, and testing the scene to ensure it’s working as intended.
One of the key challenges in creating VR scenes is ensuring that they are optimized for performance. This involves minimizing load times, reducing frame rates, and preventing motion sickness. It’s also important to test the scene on a variety of devices to ensure it works well across different platforms.
Another example of a successful VR scene is the virtual tour of the Louvre Museum in Paris. The developers spent months building the scene, taking into account factors like lighting, textures, and audio to create an immersive experience that transported users to the heart of Paris.
Post-Production: Editing and Polishing
Once your VR scene is built, it’s time to start editing and polishing it. This involves adding sound effects, music, and other audio elements, as well as refining the lighting and textures to create a more realistic look and feel.
One important aspect of post-production is playtesting. This involves testing the scene with real users to gather feedback and make improvements. It’s also important to consider accessibility, ensuring that the scene is easy to navigate and understand for users of all abilities.
FAQs
Q: What software do I need to create VR scenes?
A: There are many different software options available for creating VR scenes, including Unity, Unreal Engine, and A-Frame. The best choice will depend on your specific needs and skill level.
Q: How long does it take to create a VR scene?
A: The time it takes to create a VR scene can vary greatly depending on the complexity of the design and the resources available. It can take anywhere from a few weeks to several months to complete a VR scene.
Q: What are some common challenges in creating VR scenes?
A: Some common challenges in creating VR scenes include optimizing for performance, ensuring compatibility across different devices, and creating an immersive user experience.
