Are you an AI 3D developer looking to create an engaging and immersive game experience? Look no further than the world of 8-bit gaming! With its iconic characters, classic gameplay mechanics, and charming visual style, 8-bit games have stood the test of time and continue to captivate players today. In this guide, we’ll explore how to create a high-quality 3D model of one of the most beloved video game franchises of all time: Mario.
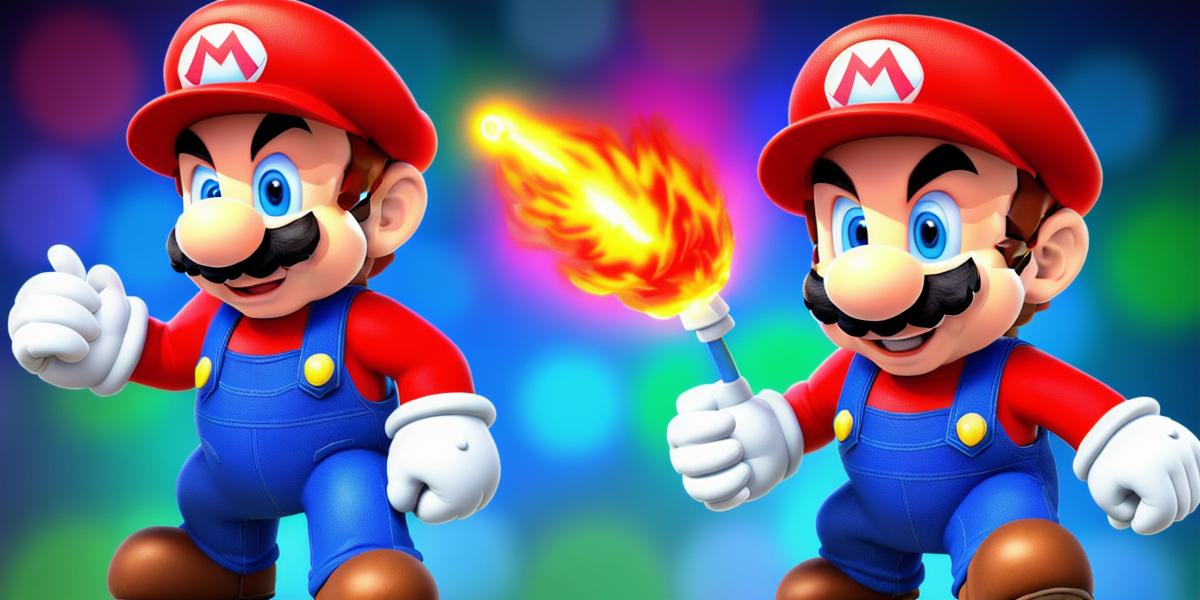
Mario, the plucky Italian plumber who first appeared on the Nintendo Entertainment System in 1985, is an instantly recognizable and endearing character. With his red hat, overalls, and bushy mustache, Mario has become a cultural icon and a symbol of fun and adventure. Creating a high-quality 3D model of this beloved character can be a challenging yet rewarding project for any AI 3D developer.
First and foremost, it’s important to understand the basics of creating a 3D model. This includes choosing the right tools and software, understanding the principles of geometry and perspective, and experimenting with different materials and textures to create a unique and visually stunning final product. For our Mario 3D model, we’ll be using Blender, a powerful and versatile open-source 3D modeling software that offers a wide range of tools and features for creating high-quality 3D models.
Once you have your tools and software set up, the next step is to gather reference material. Reference materials can include screenshots from the original game, concept art, and other visual assets that provide insight into the character’s design and appearance. These references will help guide your modeling process and ensure that your final product stays true to the source material.
With your reference materials in hand, it’s time to start modeling! The first step is to create a basic blockout of the character. This involves sketching out the rough shapes and forms of the model using simple geometric shapes like cubes and spheres. Once you have a basic blockout, you can refine and detail the model by adding more intricate shapes and textures.
One of the most important aspects of creating a high-quality 3D model is paying attention to the details. This includes everything from the character’s facial features to the texture of their clothing and accessories. To create a truly authentic Mario model, you’ll need to spend plenty of time studying the original game and experimenting with different materials and textures to capture the essence of the character.
Once your model is complete, it’s time to add some finishing touches like lighting and animation. Lighting can greatly enhance the overall look and feel of the model by adding depth and dimension, while animation can bring the character to life and create a more dynamic and engaging experience for the player. To achieve realistic lighting in your Mario 3D model, you’ll need to use techniques like shadow mapping and global illumination, while animation can be achieved using keyframes and particle systems.
Finally, before releasing your Mario 3D model to the public, it’s important to test it thoroughly to ensure that it runs smoothly and looks great on a variety of platforms. This includes testing the model on different hardware configurations, optimizing it for different screen sizes and resolutions, and ensuring that it runs smoothly even with complex textures and animation effects.
In conclusion, creating a high-quality 3D model of Mario is a challenging yet rewarding project that requires careful attention to detail and a deep understanding of the principles of 3D modeling. By following these steps and using the right tools and techniques, you can create an engaging and immersive game experience that will captivate players for generations to come. So get your game on